Wednesday, December 16, 2015

Posters

Learning Targets:

  1. I can name 3 components of a poster.
  2. I can name at least one reason for using a poster.
  3. I can create a poster to announce an event at school.


Posters are often used to announce something. Some examples are:
  • music concert
  • school festival
  • art fair
  • new movie
  • political campaign

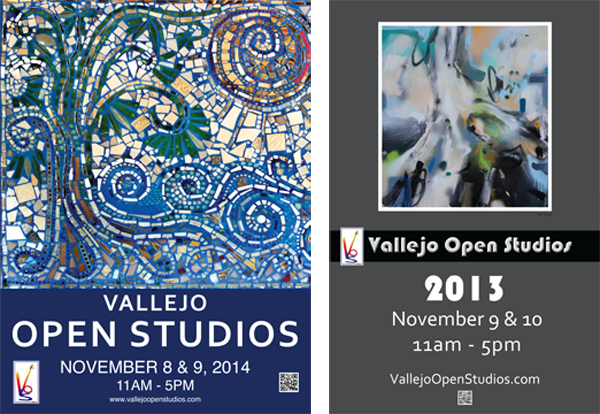
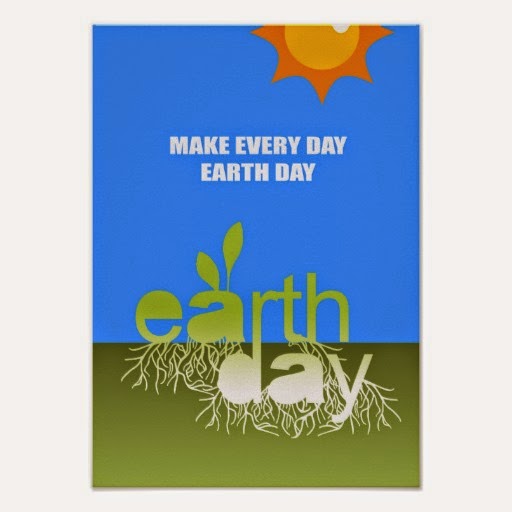
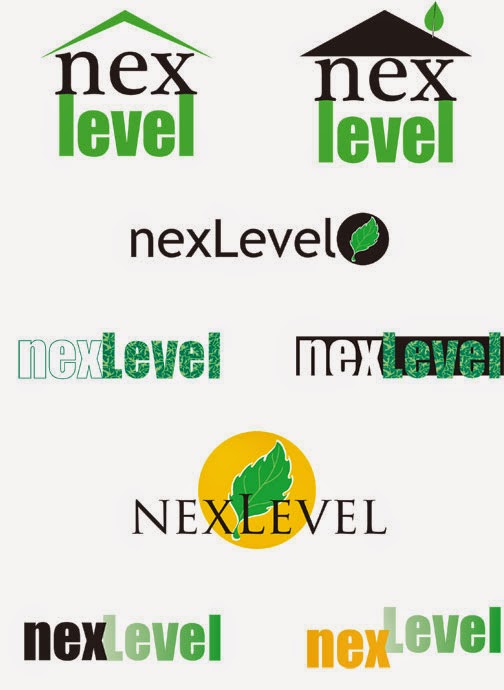
Below are some examples of posters.
What are some of the things they have in common?
What are some differences?


Sometimes posters do not announce a particular event, but are there to remind you about something all year long.


Create a poster for the Winter Choir Peformance at VCS.
Use the 8.5 x 11 template in Publisher to create a poster for an important event. You can go to goole to save an image to your Flash drive to use.

Below is information about the performance from Mr. Orlando.

Ask yourself these questions:
  • Which information is most important?
  • Which information should be largest?
  • Which information can be smaller?
  • Does all of this information need to be included?
  • Which information can be left out?


Thursday, December 17th, 2015 in the Gym from 6:00 – 7:30

Our 5gh grade classes will be selling pizza, drinks and refreshments to raise funds for Walker Creek.

The show starts at 6:00pm with special performances from the following classes:

Ms. Carhidi-Wise (1st)
Ms. Lewis (2nd),
Ms. Marceau (3rd)
Ms. Gurzenski (4th)
Ms. Moreira and Mr. Jarrett (5th),
Ms. Soltesz and Ms. Yakabe (6th)
Ms. Nervis (7th)
Ms. Hussien and Ms. Mainero (8th)

After the show a reception will follow hosted by the Student Leadership Team.

The 5 Ws:

Who, What, When, Where, Why
This will help you plan anything you create.

Wednesday, December 9, 2015

Margins, Alignment & Sending Backward/Forward

Learning Targets

  1. I can change the margins in Publisher.
  2. I can align text or an object to the margins.
  3. I can send an object or text to the background or bring them to the foreground.
  4. I can align an object so it is centered in my document.
Today we will have a quick demonstration to support the learning targets listed above. 

After that you will continue working on your color card keeping these new learning targets in mind.

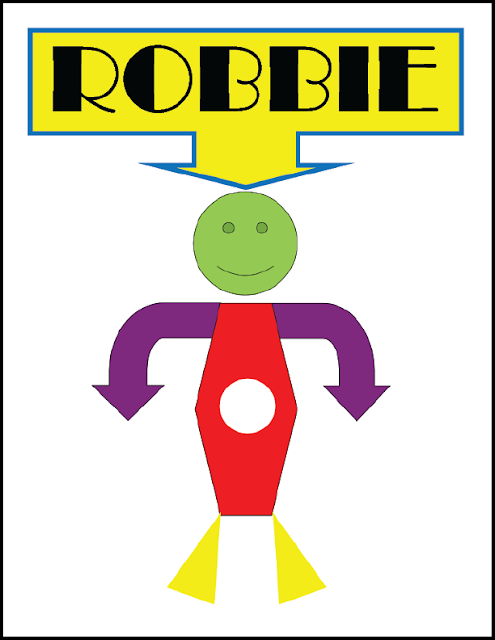
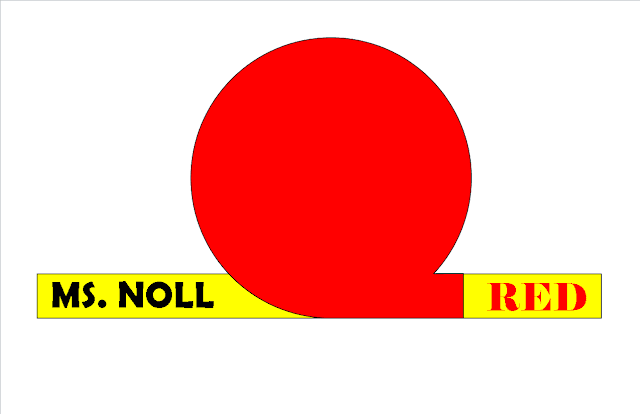
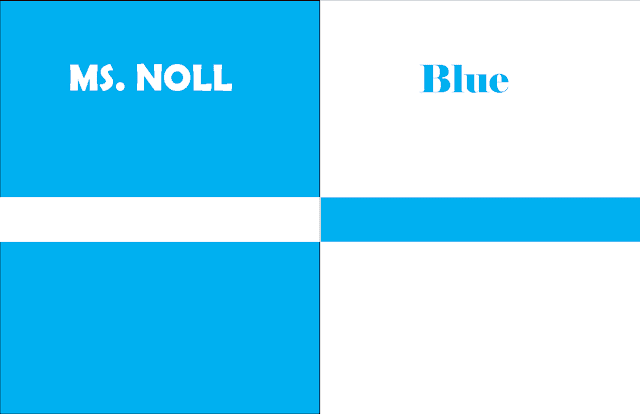
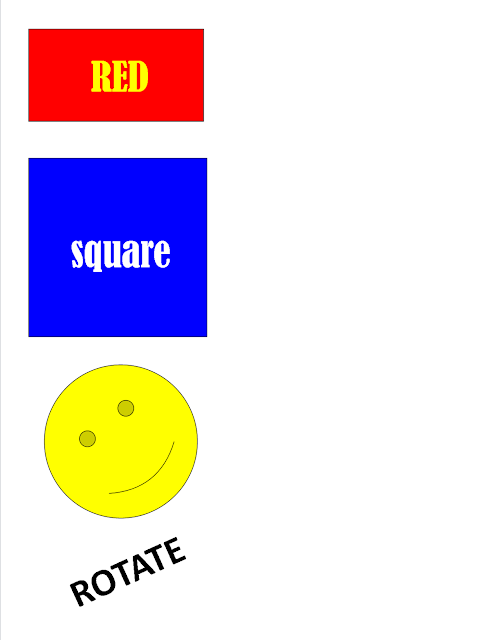
If your color card is completed and Ms. Noll has reviewed it, you will try to recreate the challenge shown below using shapes, fill color (paintbucket), line color, line weight, and text.


Sunday, November 29, 2015

Color Card (continued)

Today you will continue working on your color card. You will find images that support the color or colors you chose and insert them into your document in an attractive way that represents quality graphic design.

LEARNING TARGETS

FROM LAST WEEK:
  1. I can create a custom size document in Publisher.
  2. I can create a color card using my favorite color in a creative way.
NEW THIS WEEK:
  1. I can google images and save them to a flash drive.
  2. I can insert saved images into my document in Publisher.
  3. I can resize my images and place them in an attractive way to represent high quality graphic design.
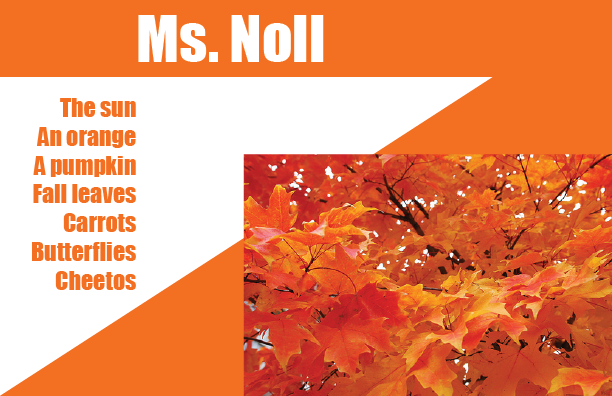
Look at my two examples. Then scroll down to find out how to google an image and save it to your flash drive. 


FIND IMAGES FOR YOUR COLOR CARD
  1. Open Google Chrome and search for images to support the color or colors you chose.
  2. For example, you might type this into the search bar: things that are yellow
  3. When you find an image, right click on it. 
  4. You should see a drop down menu.
  5. From the drop down menu, choose save image.
  6. When the popup box appears, first make sure you can see the name of your flash drive on the left and click on it to highlight it.
  7. Give your image a name that will have meaning to you.


INSERT THE IMAGE INTO YOUR DOCUMENT IN PUBLISHER
  1. Click on the tab called "Insert" on the top of your ribbon.
  2. Click on "Picture"
  3. When the popup box appears, double click on your flash drive to see its contents.
  4. Find the image you saved. You can either double click on it to insert it, or you can click on it once to choose it, then click the "Insert" button. Both ways do the same thing.
RESIZE YOUR IMAGE
  1. Click on it once to highlight it.
  2. Choose one of the four "handles" in any of the four corners and hold the mouse button down while you drag to resize the image. Resizing this way will maintain the images proportions and not make it extra wide or extra tall.
Don't forget to save your new document to your flash drive!

EXTRA CREDIT
If you have completed a color card and it is a good example of high quality graphic design, you can get extra credit by creating a poster for a Winter Festival. You will include the following:

  1. Title 
  2. Date
  3. Time (beginning and ending times)
  4. What people can expect to find. Examples are food, beverages, live music or a DJ, dancing, games, raffle, etc.
  5. An image


Tuesday, November 17, 2015

What is Your Favorite Color?

Do you remember that on the first day of class we shared information about ourselves? One of the things we included was favorite color.

Today you will make a color card that is 8.5" wide and 5.5" tall.

You will use your favorite color in a creative way.

What are some ways you can use your favorite color on your color card?

Include the following on your color card:

  • Your first and last name
  • You can either make a list of the things that can be found in your favorite color or you can google images that use your favorite color. For example, if your favorite color is green, you might google images of grass or trees.


LEARNING TARGETS

  1. I can create a custom size document in Publisher.
  2. I can create a color card using my favorite color in a creative way.
  3. I can google images to use on my color card and insert them into my document in Publisher.


Monday, November 2, 2015

Lesson 5 - Logo Design in Publisher

Now that you have seen the basics of Publisher, you can begin creating your logo in Publisher.

DO I HAVE TO DO THE SAME LOGO I DID ON MY NAMEPLATE?

You do NOT have to try to create the same logo you drew on your nameplate. You can if you want to, or you can create an entirely new logo. Your choice.

Read all these steps. Do NOT open Publisher yet.


HOW TO BEGIN YOUR LOGO FILE

  • Open a new 8.5 x 11 document in Publisher
  • Here are some options for creating your logo:
    • Use your initials.
    • Use only your first name.
    • Use only your last name.
    • Use your first and last name.
    • Use just the initial of your first name and use your entire last name.
    • Use your first name and just the initial of your last name.
  • You can add shapes, but they must be shapes you draw in Publisher.
  • Think about colors that look good together.


HOW TO ADD TEXT

  • From the Home tab or the Insert tab, click on "Draw Text Box".
  • Click and drag in your document window to begin drawing a text box. You can change the shape and size later. Let go of your mouse to finish the text box.
  • Begin typing. By default, Publisher uses Calibri and makes the size 10 points, which will appear very small on your screen. 
  • Make the text large enough to read.
  • What font or fonts will you use?
  • You'll need to resize any text to make it large enough to read.


HOW TO SAVE YOUR FILE TO FLASH DRIVE

Name the file with your name and today's date. 

Example:     john-smith-11-4-15
You can use hyphens or dots to separate words, but not slashes /


TIPS FOR USING PUBLISHER

I created a page on this website/blog called "Tips - Using Publisher" and have added quite a few things. Be sure to visit that page. (Hint: look at the top row of this blog where the tabs are).


Sunday, October 25, 2015

Lesson 4 - More Basics in Publisher

ALIGNING TEXT


This text is
flush left. 
It aligns on the left side.

This text is flush right.
It aligns
on the right side.

Do you know what
kind of text alignment
this is called?


Now let's insert a text box.
Change the size of the text so you can read it.
Change the font.
Then choose the alignment you want.


Next let's insert shapes and color them. Then we'll add text and color that.

After you draw these, use shapes to draw a pumpkin!


Monday, October 19, 2015

Lesson 3 - Computer & Publisher Basics

TODAY'S GOALS

Recognize the difference between USB ports and the Ethernet port

Learn how to plug in an external Flash Drive into a USB port

Learn how to safely eject a Flash Drive without damaging it or the files on it

Learn how to save a file to the Flash Drive, not the hard disk on the computer

Begin to understand the basics of Microsoft Publisher.


FLASH DRIVES USE THE USB PORT
The flash drives we use swivel to open and close.

RULES FOR USING THE COMPUTER

  • DO NO HARM - no food, liquid, slamming shut or anything that can cause damage.
  • Visit sites and do searches only as allowed by Ms. Noll or another instructor or teacher.
  • Make sure the computer is fully powered up (you see the desktop) before inserting the flash drive, or the computer may not recognize it.
  • Do not force the flash drive if you are having trouble inserting it into the port.
  • Do not twist the flash drive as you connect to or disconnect from the computer. Push it straight in; pull it straight out.
  • To disconnect a flash drive, follow the instructions found at your desk to perform Safe Eject.
  • Do not save files to anything but your flash drive. Files found on the computer are deleted.
  • Return the flash drive at the end of class for collection.
  • Do not shut down your computer, until you have done a Safe Eject of the flash drive.
  • If you are unsure about anything, ask FIRST!


USING PUBLISHER

  • Open a blank new document
  • Insert a shape
  • Resize the shape to make it larger or smaller, but maintain its proportions.
  • Add text inside the square.
  • Save your file to the flash drive using your full name and today's date as the filename.
  • Close Publisher.
  • Perform a SAFE EJECT to disconnect the flash drive.
  • Connect the flash drive again and verify that your file was saved to it.
  • Make any changes you want or begin creating your logo in Publisher.
  • Save your file.
  • Do a Safe Eject of the flash drive.
  • Shut down your computer.


Wednesday, October 14, 2015

Lesson 2 - Logo Sketches

Also known as THUMBNAIL SKETCHES.

Why?
Because they are small.
They represent a quick idea.
Get those ideas down on paper and then review them before making a decision.

Then start working on perfecting your logo.

Then you'll decide on color.

And do it!


Here are some sketches I did for the letters A and Z.


Tuesday, October 6, 2015

Lesson 1 - Graphic Design & Logos

Text  +  Image   =   Graphic Design

Sometimes the text IS the image!

Can the image be used by itself sometimes?

What are some things besides logos that Graphic Designers create?


Logos
Business Cards
Movie Posters
Billboards
Event Tickets
Magazines
Newspapers
Postcards
Calendars
Banners
Packaging
Books


Things to think about:

Font style
Font size
Font color
Alignment
Spacing
Shapes